

Behavioral tracking allows you to manage contact consent for collecting data related to their interactions with your communications, such as views and clicks. In a context where personal data collection is increasingly regulated, Dialog Insight’s behavioral tracking feature allows contacts to choose whether they want to be tracked or not. When a contact opts out of tracking, their interactions can still be included in statistics, but they are anonymized and no longer associated with their profile. This article explains how to enable this feature, configure consent options, collect contact preferences, and understand the impact of behavioral tracking on results, targeting, and analytics.
***It is your responsability to get informed on local laws regarding tracking consent.***
Acces path: Project → Other configurations |
Step 1: Activate Behavioral Tracking
Follow the access path and activate the Behavioral tracking and data protection module: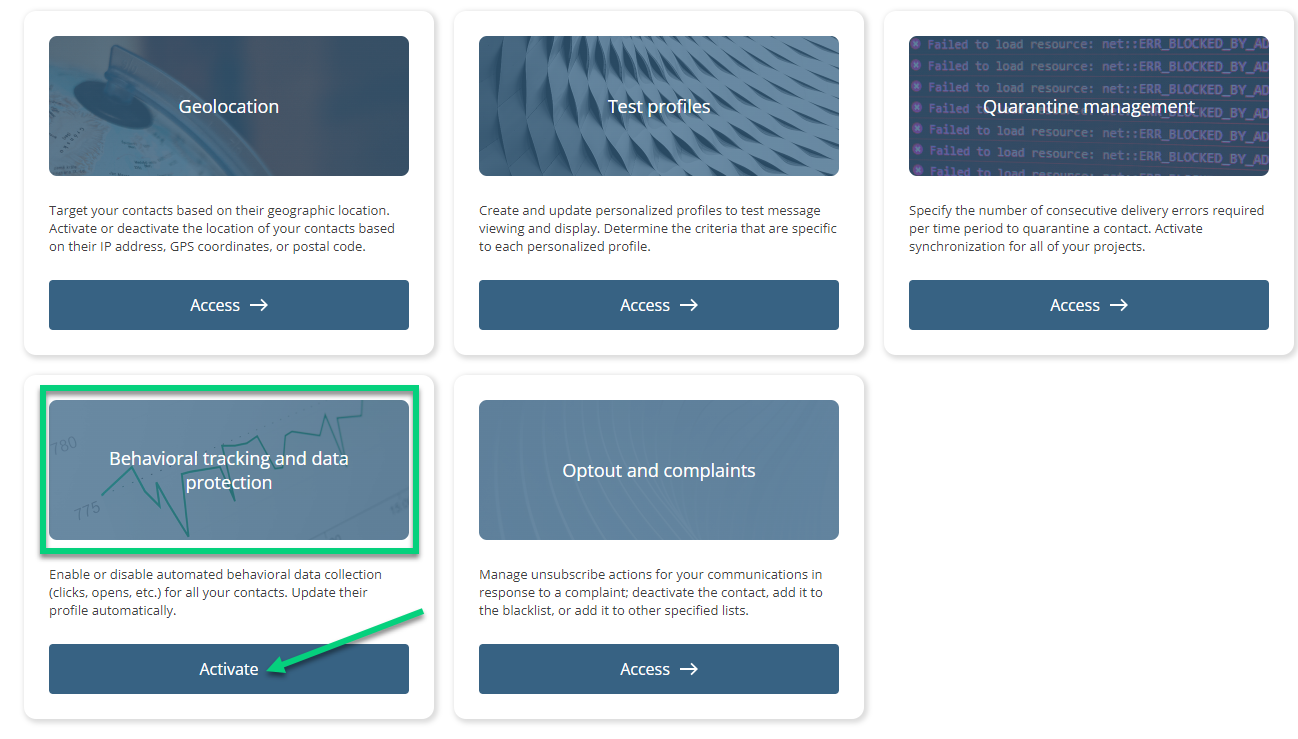
| If you have a CDP structure, make sure to activate the behavioral tracking in the project you use to send your communications. |
By activating the behavioral tracking module, it generates essential tables and fields for tracking contacts' consent, including 2 administrative fields for contacts:
- hasTrackingConsent - Tracking consen (the values of this field are either 1 (consents) or 0 (does not consent))
- dtTrackingConsent - Date of tracking consent
These fields are added automatically the contact profiles, but do not appear in the project's field list.
Step 2: Configure the Tracking Method
Behavioral tracking can be configured using two consent modes.
Opt-out: contacts are tracked automatically unless they have chosen to opt out of tracking.
Opt-in (recommended): only contacts who have explicitly provided their consent are tracked. This option allows you to adapt data collection according to your needs and your contacts' preferences.
| Warning! The opt-out mode may present compliance risks in certain regulatory contexts, as some privacy laws require prior consent before collecting behavioral data. |
To change the default method, go to the configuration menu and click Edit:
Then, select the method you want to use: 
Step 3: Configure the Tracking Consent Interception
The interception feature is optional. When this feature is activated When a contact clicks on one of the links inside your emails (except for communication types you choose to exclude), a form is displayed to ask if the contact accepts or refuses the collection of behavioral data.
Configuring the interception is done in 2 steps. First, you must define the interception conditions (delay between interception, communication types to exclude). Second, you will customize the interception form for English and for French (if it applies). If you have other languages for your communications, you can create a form for each of these languages.
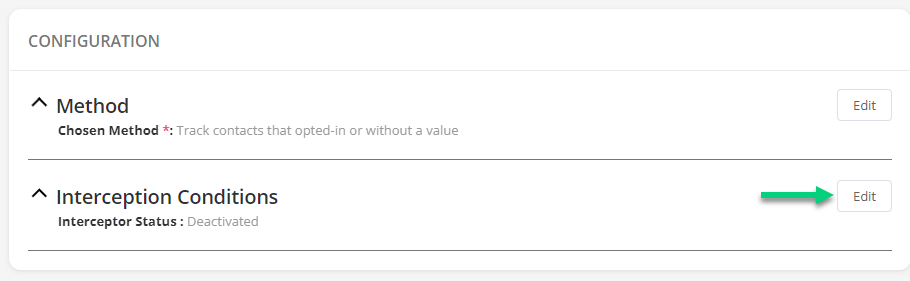
Then, click on Activate interception and set the interception conditions:
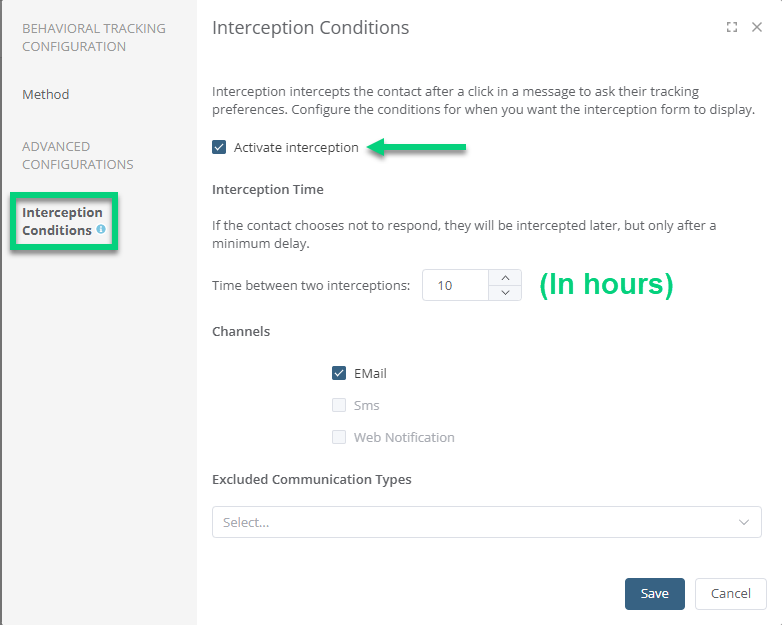
- Interception Time: Indicate the delay in hours between interceptions.
- Channels: At the moment, the only channel available is Email. Stay tuned for the opening of other channels! :-)
- Excluded Communication Types: By default, interception applies to all communication types, except if you select here a communication type to exclude.
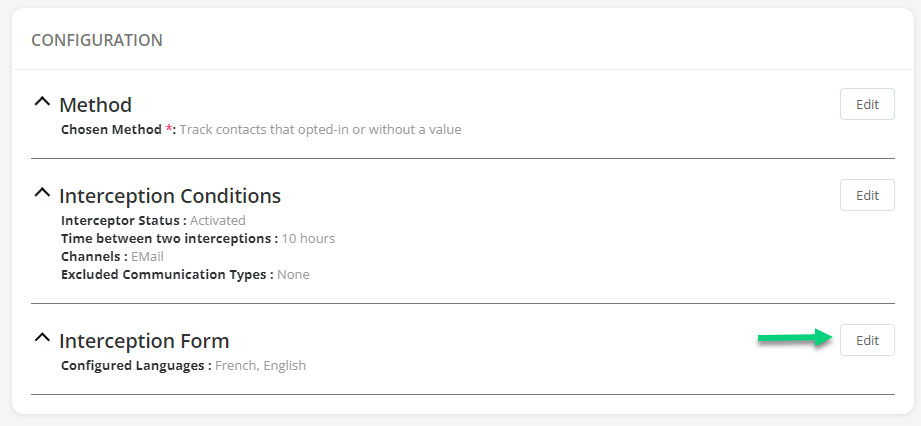
You can edit the default forms for English and French depending on the languages you use in your emails:
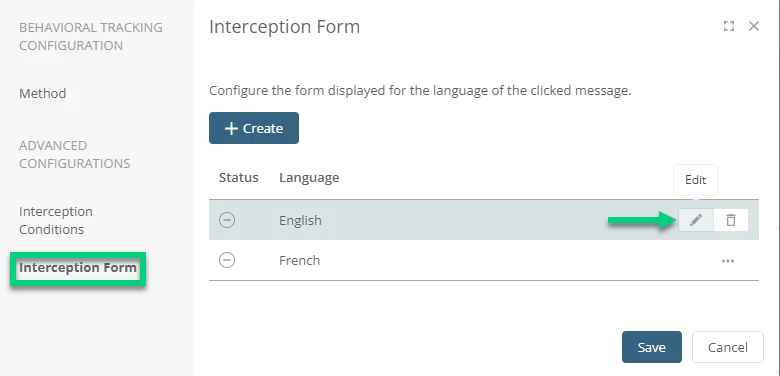
If you have emails using other languages, you can create a new form for these languages by clicking on Create. Customize content to adapt it to your use of behavioral tracking:
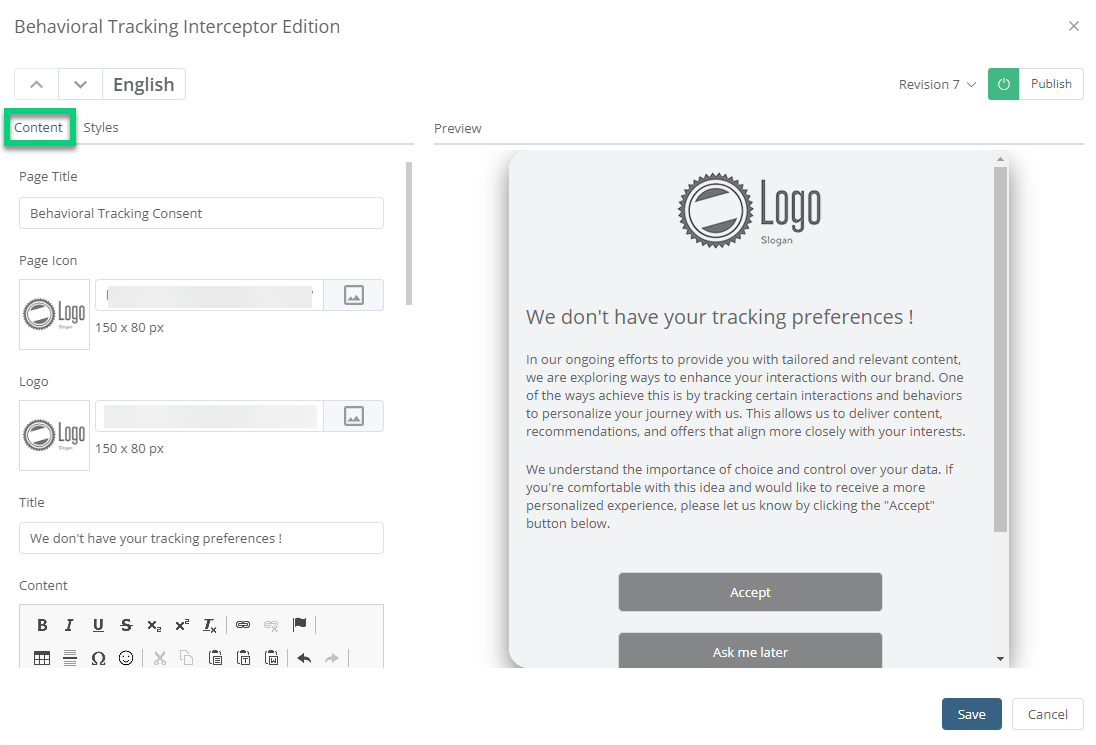 Change titles, add your logo and adapt the legal text to your context of data use.
Buttons are linked with the administrative fields for consent hasTrackingConsent and dtTrackingConsent. These fields are generated when you activate the behavioral tracking module. When a contact clicks on Accept, the value of the hasTrackingConsent field changes to Accepted. If the contact chooses Ask me later, an interception will be sent again later depending on the delay defined in the interception conditions.
To finish, change the styles by adding the colors of your brand:
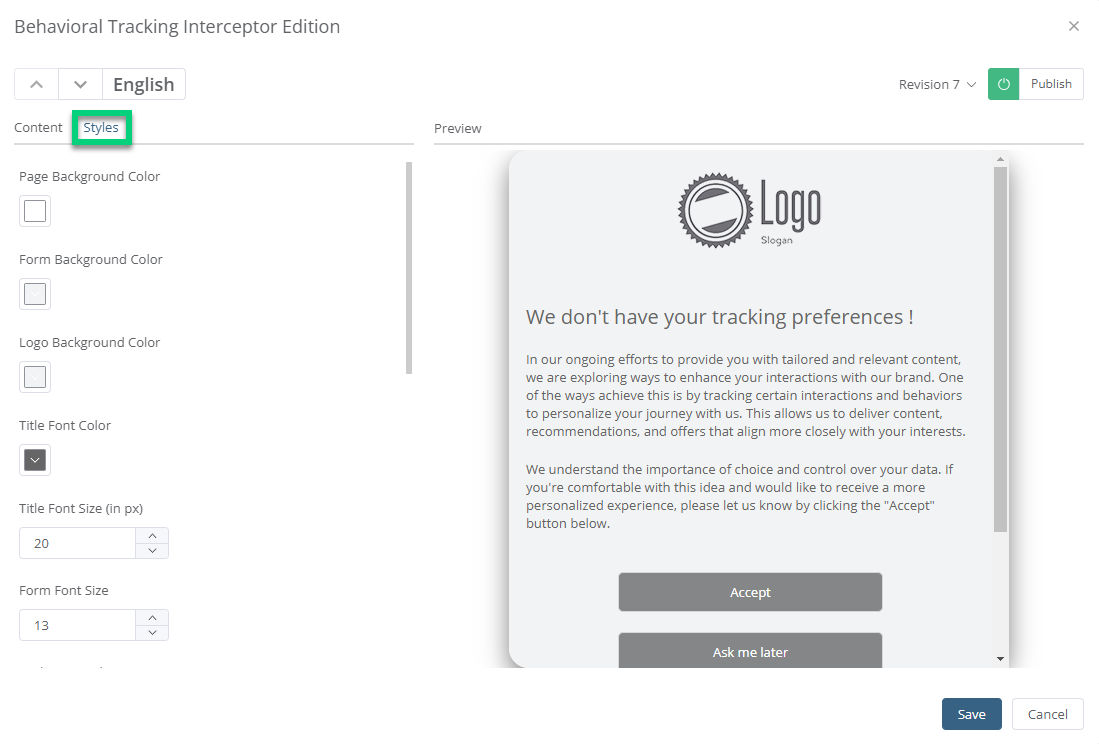
Step 4: Add or Update Consents
If you use the interception (see the previous Step 3), you can wait for consents to come in through the interception form. Otherwise, you have 2 other options to add tracking consent.
| Consent for behavioral tracking must not be confused with consent for communications. If interception for behavioral tracking and for communication consent are both configured, in theory, they should not be in conflict. If both are activated and are supposed to be displayed to the contact, opt-in consent will be prioritized, then behavioral tracking consent will be presented at the following click. |
If you host tracking consents in an external system, you can do a manual import with an Excel or CSV file. You can use administrative fields (hasTrackingConsent and dtTrackingConsent) for mapping or importing the updated status of tracking consents. The consent will be accepted if the consent date is not a greater value than the field at the moment of the import in order to not overwrite an up-to-date status.
If you use opt-in or profile update forms, you could insert an input to ask for tracking consent. In the configuration of the form, add a field for tracking consent: 
***This method is for developers or more technical users.***
If you have configured Web Services, you could transfer consents calling the Contacts.Merge service. For more details, see this article.
Step 5: Create an Opt-out Form
Ensure to offer an opt-out option for behavioral tracking by configuring one of these 2 options.
The behavioral tracking opt-out form allows contacts to unsubscribe from cookies in your email communications. A link to this form can be inserted in your messages, from the Link library. You can also add a link to this form in your current opt-out, opt-in and profile update forms.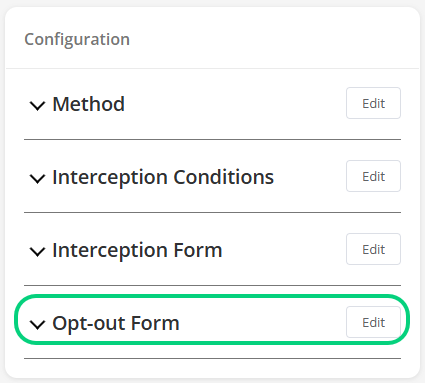
When activating the module, a Behavioral Tracking opt-out section is generated. In this section, you can configure the form styles and content. You can integrate the link to the form in your communications.
You can also give the option to contacts to withdraw from behavioral tracking using the opt-out process. In the opt-out form editor, click on Offer the option to opt-out from behavioral tracking: This option will display a text at the bottom of the opt-out form with a link to the behavioral tracking opt-out form.
Results
Status and Consent History for a Contact
Behavioral tracking status is displayed in the contact's profile: Accepted, Refused or Unanswered.
The status appears in the Admissibility and Consent section and can be changed manually by clicking Edit (make sure you have the consent of that contact if you change the status to Accepted). To get more details, click Consult history.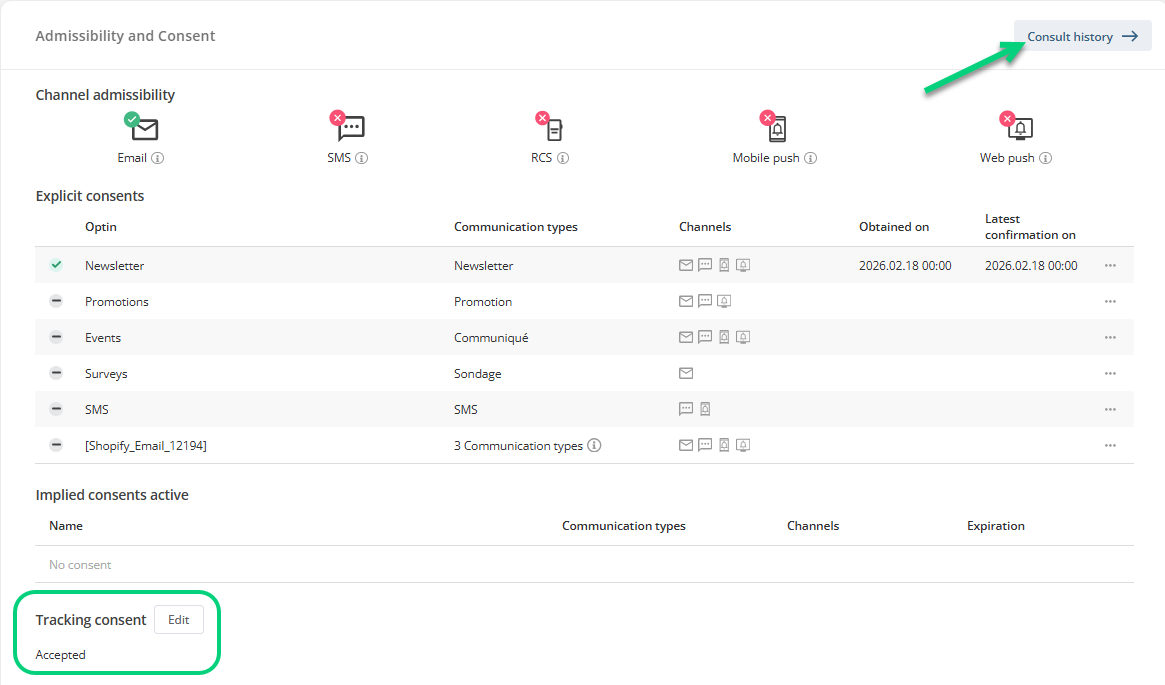
In the contact's profile, contacts who refused tracking will be identified as non-targeted by the message sending. It is impossible to see if the message was sent to these contacts.
Sending results
You do not need to set additional configurations for message sendings. The system automatically applies behavioral tracking conditions for contacts. In the results, since the tracking data are from anonymous contacts, global results are not affected. However, contacts who refused to be tracked are not included in the list of contacts, but they will be counted in the total of contacts in the legend and will be identified as untracked contacts.
Injection Rules
When Behavioral tracking and data protection feature is enabled in a project, a new option is added to the configuration parameters of an injection rule that allows you to prevent the rule from being applied to contacts who do not wish to be tracked. You should know that not all injection rules have to be restricted to tracked contacts. Make sure to enable this option for each rule you want to apply it to. To learn more about injection rules, see this article.
Targeting
As mentioned at the beginning of this article, Dialog Insight captures actions to enable targeting based on a contact's actions. This type of targeting is often used for re-engagement or loyalty campaigns. However, contacts who opt out of behavioral tracking will be considered as not having been targeted by the send, which excludes them from targeting based on their actual actions (views, clicks).
In addition, since sends are no longer attached to a contact, result segmentation tools will no longer work for these contacts. Since the contact is no longer tracked, behavior clauses (in tools such as Groups and Scoring) that rely on this information will no longer be able to target contacts who have opted out of behavioral tracking based on their actual actions. Similarly, in automated campaigns, conditions based on behavior will always exclude these contacts.
However, it is still possible to target contacts specifically based on their behavioral tracking consent status (rather than their actions), using a condition in a group. This allows, for example, creating a campaign aimed at contacts who declined tracking in order to explain its benefits and invite them to opt in. In a group, you have to use a Profile condition and select the Trackin consent field.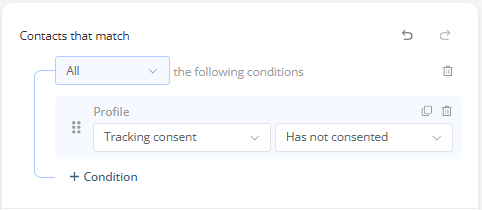
BI Tools
Since sendings are anonymized at the source, you will be able to use segmentation of sending results with contacts' criteria.
The potentially affected tools include: