It is recommended to separate your consents for Mobile Push or Web Push from other communications (emails and SMS). This provides more specific unsubscribe options. This way, a contact can unsubscribe from your notifications without unsubscribing from other communications you send them by email or other channels. If you use both Mobile Push and Web Push, it is better to create a different consent for each channel.
Requirements
- The channel (Mobile Push or Web Push must be activated.
- The consent management must have been set up.
Step 1: Create an Opt-In Field
Start by creating an opt-in field that is clearly named as an opt-in for Mobile push or Web Push: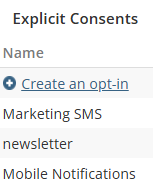
Resources |
Step 2: Create a Communication Type
Add a new communication and connect it to the opt-in(s) created in the previous step:

In the communication types management, select the communication type in the list and check the box for for the channel in the Authorized channels section: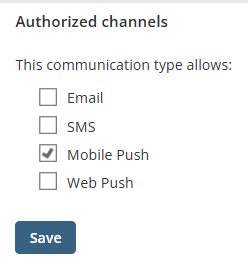
For more details, read the article Creating and Configuring a Communication Type.
Step 3: Import Opt-In Statuses
When you import your contacts, include the opt-in status for each contact. If you make an import with a file (Excel/.CSV), the imported data could look like this example:
1 = subscribes the contact
2 = unsubscribes the contact
Resources |
Step 4: Create a Group
To target your contacts with the notifications, you must segment them into a group by including a condition related to the opt-in.
Start by adding an Opt-in condition:
Then, select the opt-in you want to use: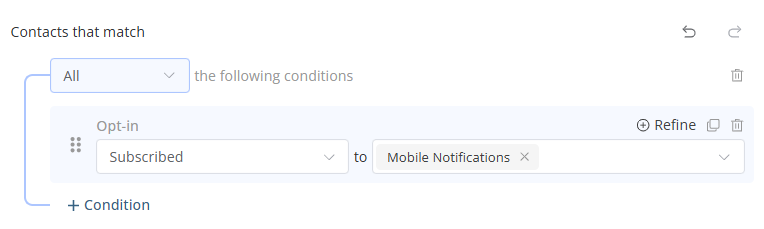
Step 5: Select the Group for the Targeting
When you program the notifications, select the group to target in the Recipients section. For a contact to be targeted, that contact must:
- Be active.
- Be admissible to the channel.
- Have a consent for the communications sent throught this channel.
- Meet all the criteria included in the group created.
→ Learn more about the status and admissibility of a contact