

AI campaign generation helps you create a first draft of a campaign more quickly. Based on your instructions, AI can suggest a sequence tailored to your objective, audience, and context. You can then clarify certain details, adjust the suggested structure, and complete the campaign manually as needed before validating and activating it.
Some behaviors may change, and AI-generated results must be reviewed before the campaign is activated. Make sure to validate the sequence, targeting, and message content before launching the campaign.
To learn more about how AI processes data, see The AI in Dialog Insight.
Required Plan: Boost/Grow |
Limitations
- The generated campaign becomes an automated campaign.
- AI generates the communication actions, but not their content.
- Some nodes are not supported.
Before you begin
Before generating a campaign with AI, we recommend creating a DiA context. This context provides AI with information specific to your organization that it should consider when generating the campaign. A context is not required, but it will make the AI-generated results more relevant.
Step 1: Generate the campaign
1.1 Go to the Automated Campaigns interface and click Create a campaign. Select Create with AI.
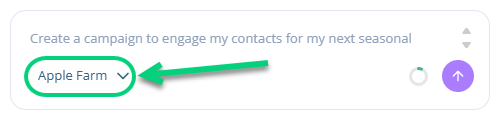
1.2 From the drop-down menu, select the context you want to apply, if applicable, based on the campaign you want to create:
1.3 Give AI instructions about the campaign, such as its objective and target audience: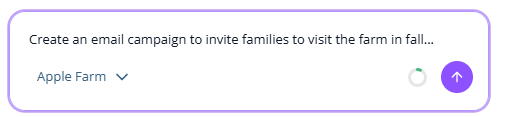
Step 2: Refine the campaign details
2.1 Answer the AI’s questions to refine the campaign details: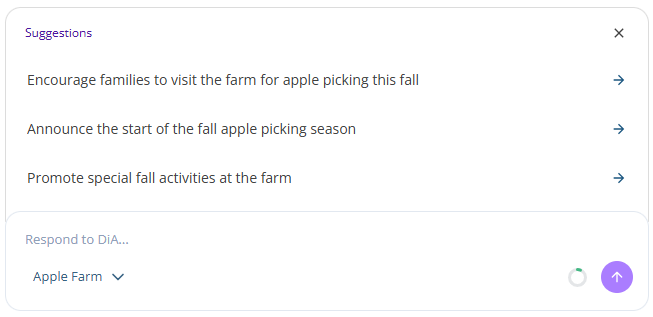
2.2 AI will display a preview of the campaign sequence in the panel on the right.
You can then:
- Modify the sequence by providing instructions in the chat. For example, you can ask AI to add a delay between two elements.
- Click Create my campaign in the upper-right corner, then adjust the campaign manually as you would with a standard automated campaign.
Step 3: Review the campaign
Review the elements of the automated campaign to validate what AI generated and add anything missing. Check the trigger, targeting, actions, delays, and conditions. Complete or correct any missing settings before proceeding.
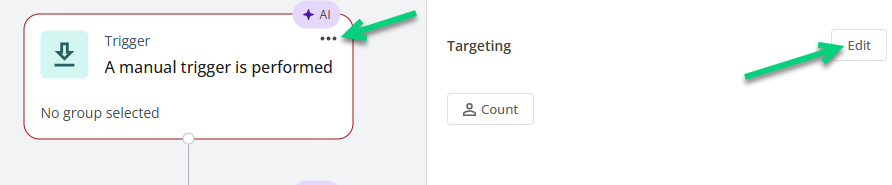
For example, review the group generated in the campaign trigger if it is unsuitable or was not generated:
Step 4: Add message content
Campaign generation creates the campaign structure and communication actions, but not the final content of the emails. For each communication, select an existing message, create one manually, or use the AI content generation feature.
→ Learn More About Generating Email Content
Step 5: Validate and activate the campaign
When the campaign is ready, validate its various elements, test it, and then activate it.
Additional resources |